
Start with a category ابدأ من هنا
Home Guides, Kitchen guides
How to Pack a Warm Lunch for Work or School in Egypt
05
Nov
Nov
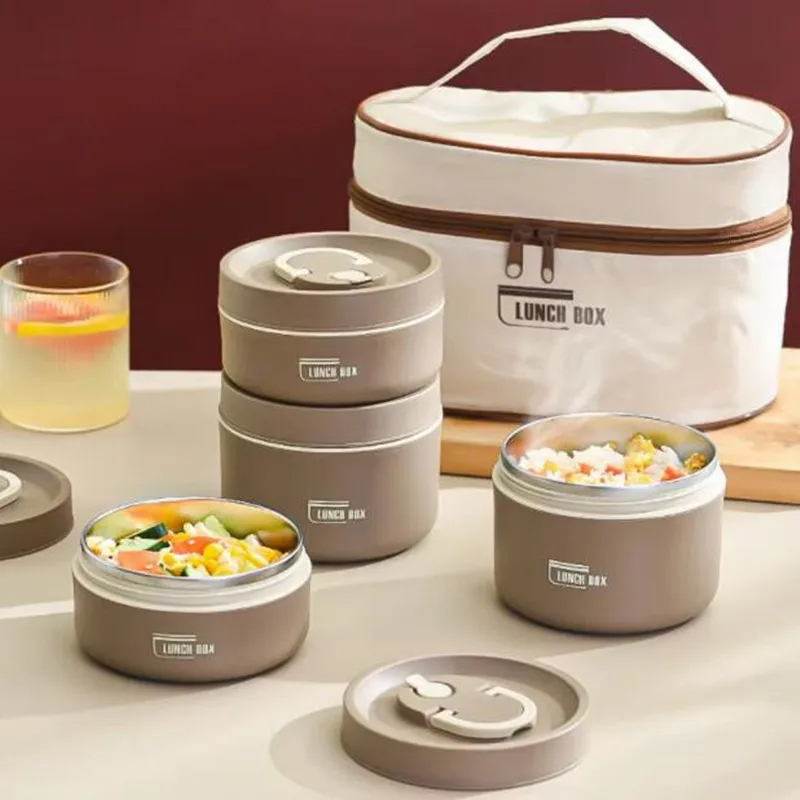
Quick answerTo pack a warm lunch for work or school, cook or reheat the food in the morning, split it into separate tiers so the rice, the main dish and the salad never mix, close every lid tightly and carry the box in an insulated bag. A 4 tier stainless steel lunch box with leak proof lids does all of this in one piece, so you eat a real meal instead of buying fast food.
In this guide
Why a home lunch is worth the effort
A long day at the office, the university or school usually ends in one of two ways: a sandwich bought on the street or a delivery order that eats a large part of the daily budget. Neither feels like the food you eat at home. A packed lunch from your own kitchen fixes both problems. You know exactly what is in it, you control the portion, and the money stays in the house.
The challenge is practical. Rice gets soggy when it sits under a stew, salad wilts next to hot food, and a weak lid lets sauce leak into your bag. Most people give up on packing lunch because of these small daily annoyances, not because they do not want home food.
That is where a tiered lunch box earns its place. Four stacking stainless steel tiers keep each part of the meal in its own space, the leak proof lids hold sauces in, and the insulated bag keeps food warm or cool for longer than a plain container.
From Cairo Hubs4 Tier Stainless Steel Lunch Box with Insulated Bag Original price was: 683 EGP.525 EGPCurrent price is: 525 EGP.Add to cartView product
What to put in each tier
Think of the four tiers as a full plate, split into parts. A simple layout that works for most days:
- Bottom tier: the heaviest dish, such as rice, pasta or freekeh, because it sits steady under the rest
- Second tier: the main dish, such as chicken, kofta, beans or a vegetable stew with its sauce
- Third tier: cooked vegetables or a side, such as potatoes or sautéed greens
- Top tier: salad, fruit or something sweet, kept away from the hot food
If you only need a light meal, use two or three tiers and leave the rest at home. The tiers stack, so the box stays compact in the bag either way.
Pack it step by step
- Cook or plan the night before. Decide the menu while you cook dinner. Set aside one portion before the family serves, so lunch is ready without extra cooking.
- Reheat in the morning. Warm the food well on the stove or in the microwave, using a separate plate, then move it to the tiers while it is still hot.
- Fill from the bottom up. Put the heaviest food at the bottom and the lightest at the top, so the stack stays balanced when you carry it.
- Close every lid firmly. Press each lid down all the way around. A lid that is half closed is the main reason sauces leak.
- Zip it into the insulated bag. Put the stack straight into the bag and close it, so the warmth stays inside on the way to work or school.
- Pack a spoon and a napkin. Keep them in the outer space of your bag so you are not hunting for cutlery at lunch time.
Tip: Pour hot water into the empty tiers for a minute before you add the food in winter, then pour it out and dry them. Warm steel keeps the food warmer than cold steel.
Five lunch ideas from the Egyptian kitchen
These meals travel well because each part has its own tier and nothing gets soggy:
- White rice, chicken with tomato sauce, green beans and a cucumber salad
- Pasta with béchamel in one tier, a green salad in another, fruit on top
- Freekeh, grilled kofta, roasted potatoes and pickles in the smallest corner
- Lentil soup thick enough to stay in place, bread on the side, and a few dates
- Egg and potato for a light day, with cheese, tomatoes and a piece of fruit
Keep a bottle of water next to the box. Packing a large bottle in the morning means you drink enough through the day without buying water on the way.
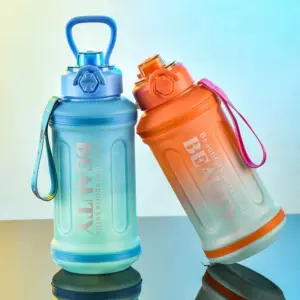
From Cairo HubsJumbo Water Bottle 1350ml with Straw and Handle Original price was: 306 EGP.235 EGPCurrent price is: 235 EGP.Add to cartView product
Clean it and keep it fresh
Stainless steel is easy to clean, which matters when you use the box every day. Wash the tiers and lids as soon as you get home, before any leftover sauce dries. Warm water and dish soap are enough for most days. Dry every tier fully before you stack them, so no smell builds up between uses.
Leave the lids slightly open overnight in the cupboard, and wipe the insulated bag inside once a week with a damp cloth. If a child needs a smaller box for school, a 3 tier lunch box with a handle covers a lighter meal while the adults take the 4 tier one.
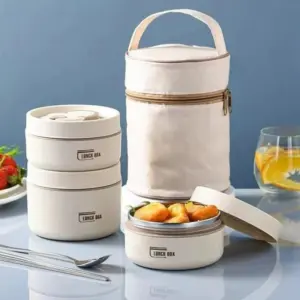
From Cairo Hubs3 Tier Stainless Steel Lunch Box with Handle Original price was: 618 EGP.475 EGPCurrent price is: 475 EGP.Add to cartView product
For more ways to organize cooking and food storage at home, read our full kitchen organization guide, or browse everything in Kitchen and Dining.
Questions people ask
How many tiers does this lunch box have?
Four stacking stainless steel tiers, enough for rice, a main dish, a side and a salad or fruit.
Will soup or sauce leak in my bag?
The lids are leak proof. Close each one firmly all the way around before you put the box in the bag.
Does the bag keep food warm?
Yes. The insulated bag keeps food warm or cool for longer than a plain container. Pack the food hot and close the bag straight away.
Is it easy to wash every day?
Yes. Stainless steel is easy to clean. Wash the tiers when you get home and dry them before stacking.
Does Cairo Hubs deliver across Egypt?
Yes, to every governorate. Delivery is 80 EGP and free on orders over 1,000 EGP.

 Storage & Organization
 Kitchen & Dining
 Mugs & Drinkware
 Travel & Lunch Boxes
 Ramadan
 Cleaning & Laundry
 Bathroom
 Bedroom & Living
 Decor & Lighting
 Office & Study
 Kids & Toys
 Winter Slippers
 Smart Tools
 Tools & Repairs
 Car Accessories
 Health & Beauty
 Sports & Fitness